Programming Tips
The preferred method of programming the tab control involves defining separate level 01 items in the Screen Section for every individual tab page and using a series of DISPLAY statements, in a specific order, to display the control. The following syntax sample demonstrates this technique.
01 TAB-FORM.
   03 MY-TAB,            TAB-CONTROL
      placeStateCOL                10 PIXELS
      LINE               10 PIXELS
      LINES              200 PIXELS
      SIZE               200 PIXELS
      TAB-TO-ADD         IS ("Page 1", "Page 2", "Page 3")
      EVENT              PROCEDURE TAB-EVENT
      VALUE              WS-ACTIVE-PAGE.
01 TAB-PAGE-1.
   03 LABEL
      placeStateCOL                30 PIXELS
      LINE               50 PIXELS
      TITLE              "This is page 1"
      LEFT.
01 TAB-PAGE-2.
   03 LABEL
      placeStateCOL                30 PIXELS
      LINE               50 PIXELS
      TITLE              "This is page 2"
      LEFT.
01  TAB-PAGE-3.
   03 LABEL
      placeStateCOL                30 PIXELS
      LINE               50 PIXELS
      TITLE              "This is page 3"
      LEFT.
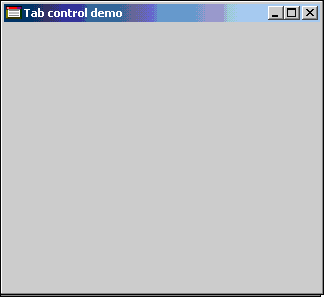
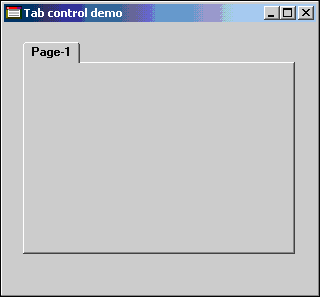
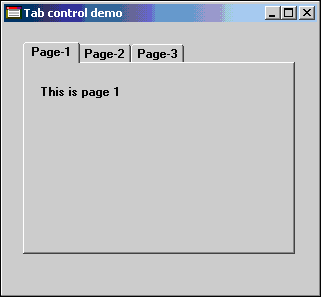
The Procedure Division syntax uses successive DISPLAY statements to create the control. In the following example, the first DISPLAY statement creates a standard graphical window as a canvas for the tab control (Fig. 1). The second DISPLAY statement adds TAB-FORM, defined as a separate level 01 item in the Screen Section (Fig. 2). Note that TAB-FORM can be defined in the same group item with other controls for the same window. The third DISPLAY statement adds the content of the first tab, TAB-PAGE-1, defined as another separate level 01 item in the Screen Section (Fig. 3).
DISPLAY STANDARD         GRAPHICAL WINDOW
        SCREEN           LINE 1
        SCREEN           COLUMN 1
        LINES            17
        SIZE             37
        CONTROL          FONT IS WS-DISPLAY-FONT
        AUTO-MINIMIZE
        BACKGROUND-LOW
        MODELESS
        NO               SCROLL
        WITH             SYSTEM MENU
        TITLE            "Tab control demo"
        TITLE-BAR
        NO               WRAP
        HANDLE           IS WS-WIN-HANDLE.
DISPLAY TAB-FORM.
DISPLAY TAB-PAGE-1.

Figure 1

Figure 2

Figure 3